How to Fix Your Water Damaged Phone in 6 Steps
“How to Fix Your Water Damaged Phone in 6 Steps”

Accidents happen. Maybe your phone slipped from your hand and landed in the sink or perhaps it fell into a puddle during a walk in the rain. Whatever the reason, water damage can be a nightmare for any phone owner. But don’t panic. If you act quickly and follow the right steps, you can increase the chances of saving your device.
In this complete guide, you will learn how to fix your water damaged phone in 6 simple steps. These steps are easy to follow and you don’t need to be a tech expert to try them. The most important thing is to stay calm and act fast.
Why Water Damage Is Dangerous for Phones
Modern phones are packed with sensitive electronics. Water can cause short circuits, corrosion and damage to internal components. If water gets inside your phone and stays there, it can ruin the motherboard, battery or screen. That’s why knowing how to fix your water damaged phone quickly can make a big difference.
Step 1: Take the Phone Out of Water Immediately
This is the most important step. The longer your phone stays in water, the more damage it can suffer. So, act fast and take it out as soon as possible. Don’t press any buttons, don’t try to check if it still works. Just get it out of the water and move on to the next step.
Step 2: Turn Off the Phone
Once the phone is out of the water, power it off immediately. Keeping the phone on can cause a short circuit if there is water inside. If the phone has already turned off on its own, do not try to switch it back on. Wait until the device is completely dry before testing it again.
Step 3: Remove All Accessories and External Parts
Take off the phone case, screen protector and any other accessories. Remove the SIM card and memory card if your phone has one. Some phones allow you to take out the battery. If yours does, remove it. The goal is to let the phone breathe and dry out properly.
Step 4: Dry the Phone Gently
Use a soft cloth or paper towel to gently pat the phone dry. Don’t shake the phone or blow air into it. This could push water further inside. Never use a hair dryer or oven. Heat can damage the internal components. Instead, wipe off all visible moisture and prepare the phone for drying.
Step 5: Use Silica Gel or Rice to Absorb Moisture
Place the phone in a container filled with silica gel packets. These are the small moisture-absorbing packets often found in shoe boxes or electronics packaging. If you don’t have silica gel, use uncooked rice. Put the phone in a bowl of rice, making sure it is fully covered. Leave it there for at least 48 hours.
The rice or silica gel will absorb the moisture inside the phone. It may take a couple of days, but this method is often effective.
Step 6: Test the Phone
After 48 hours, remove the phone from the drying material. Reinsert the SIM card and battery (if you removed it). Now, try turning on the phone. If it works, congratulations. Keep an eye on it over the next few days to make sure everything is functioning normally.
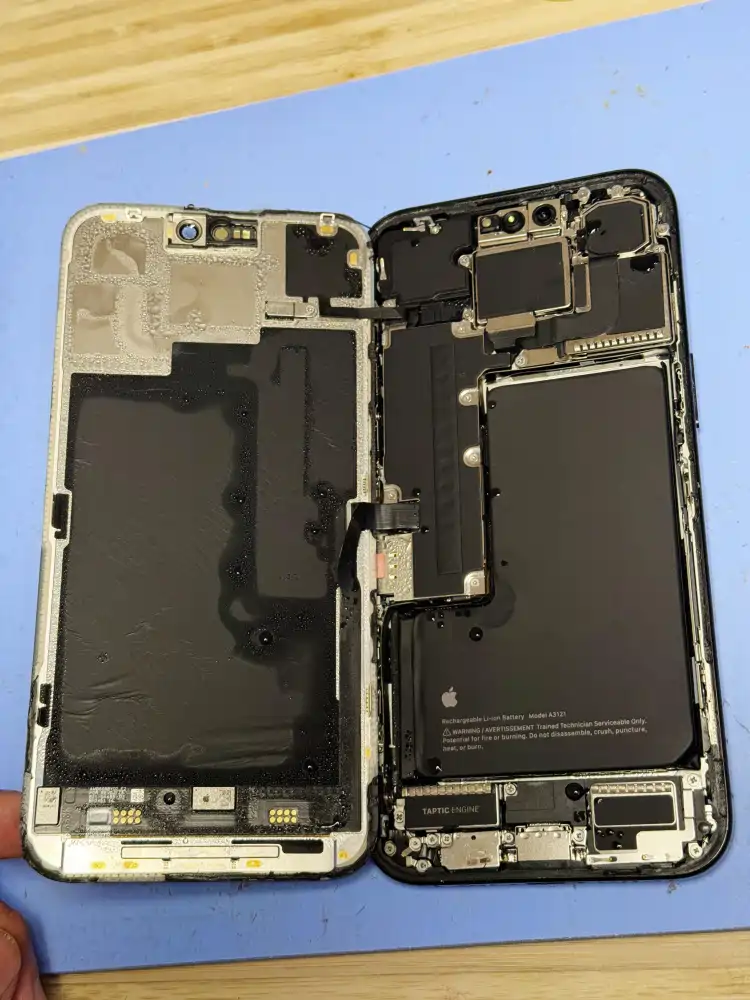
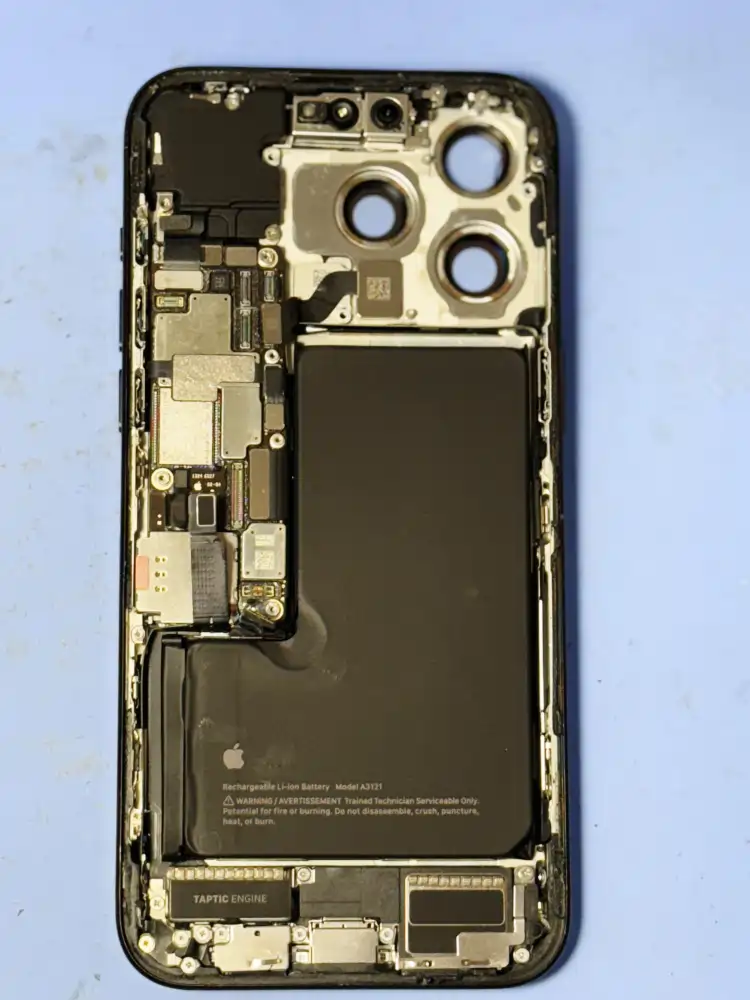
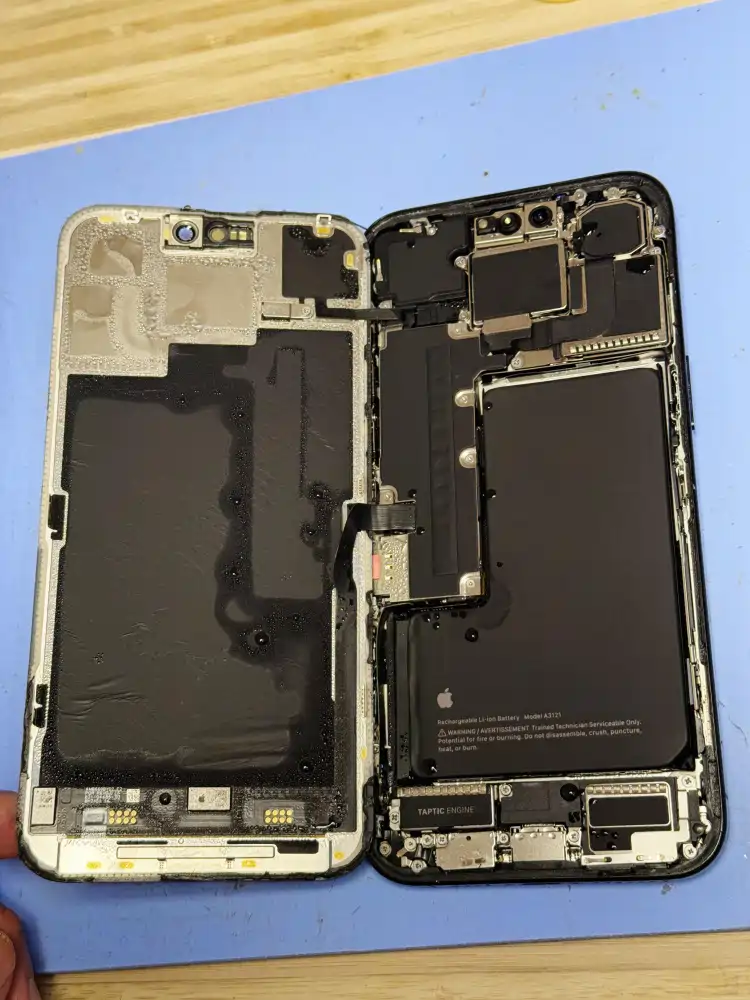
If the phone does not turn on or shows strange behavior, it may need professional repair. Take it to a service center that specializes in water damage repair like BC Electronics Repair. Their expert team can assess and fix even serious water-related issues.
Extra Tips on How to Fix Your Water Damaged Phone
- Do not plug in the charger while the phone is wet.
- Avoid using a vacuum cleaner or hair dryer to dry the phone.
- Always remove external accessories before drying.
- If possible, take your phone to a repair expert within 24 hours.
What Not to Do After Your Phone Gets Wet
- Do not press buttons. This can push water deeper inside.
- Do not try to open the phone completely unless you are trained to do so.
- Do not rely only on drying the outside. Internal moisture is the real problem.
- Do not ignore the problem. Even if the phone seems to work fine, water can cause slow damage over time.
How to Prevent Water Damage in the Future
While learning how to fix your water damaged phone is important, prevention is always better than cure. Here are a few tips:
- Use a waterproof case, especially if you spend time near water.
- Avoid using your phone in the rain or near sinks and tubs.
- Keep your phone in a separate pouch when carrying liquids in a bag.
- Be extra careful during rainy seasons or on vacations involving water activities.
When to Seek Professional Help
If your phone still does not work after drying, you may need expert help. Some signs that indicate deeper damage include:
- The screen is blank or flickering.
- The phone does not charge.
- Sound or camera features are not working.
- Apps crash often or the phone overheats.
Certified technicians have tools to open the phone, clean the internal parts and replace damaged components. Trying to fix these problems at home can make things worse if you’re not sure what you’re doing.
If you’re located in Canada or nearby, visit BC Electronics Repair for trusted phone recovery and water damage services. Their skilled technicians provide professional solutions with reliable results.
Conclusion
Knowing how to fix your water damaged phone can save you time, money and stress. The six steps above offer a practical way to deal with water accidents. Act quickly, be gentle and give the phone time to dry out. With a bit of luck and patience, your phone might survive the damage.
Remember, even if your phone seems fine, it’s a good idea to back up your data and keep an eye on how it behaves in the days after the incident. That way, you can avoid losing important files if the damage shows up later.
Learning how to fix your water damaged phone is useful knowledge that every phone user should have. Share this guide with friends and family so they also know what to do when accidents happen.
Stay safe and protect your phone from water damage in the future.